


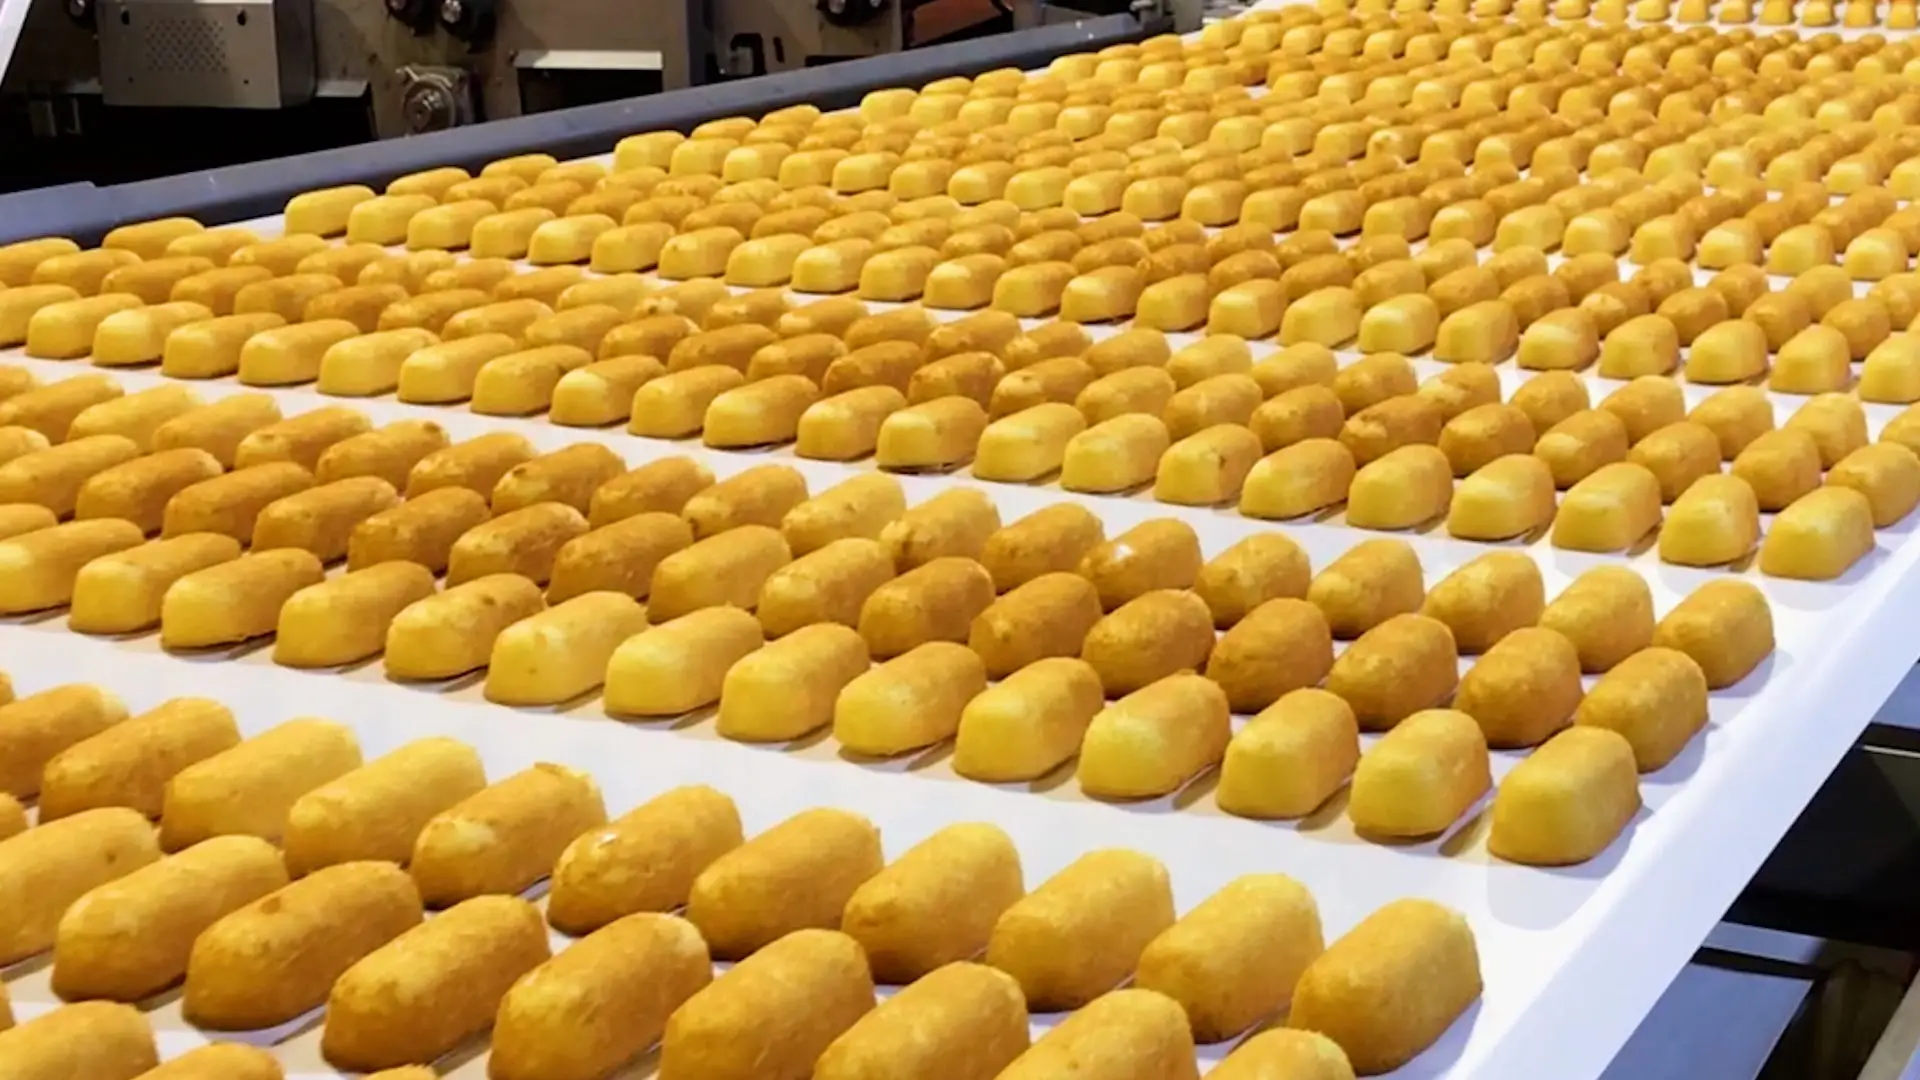
Recipe for Hostess Twinkies
Important Note: This article may contain affiliate links, we earn from qualifying purchases made on our website. If you make a purchase through links from this website, we may get a small share of the sale from Amazon and other similar affiliate programs.
A sponge cake is a simple but standout cake when filled with a sweet and creamy filling, becoming a delicious dessert. Therefore, hostess twinkies can be an excellent Halloween delight. So why not attempt to create this delectable treat at home?
Twinkies were created in 1930 by James A. Dewar. Throughout the years, this iconic cake has become the most beloved sweet treat in America. It is light and delicious, filled with a velvety vanilla filling. However, did you know that the original Twinkies did not have a vanilla-flavored filling?
Indeed, you read correctly. The first Twinkies were filled with banana cream. These snack cakes also come in seasonal flavors like pumpkin spice and peppermint. I encourage you to try them out and astonish your guests with your baking expertise.
In the following piece, I will guide you step by step on how to prepare the most excellent Hostess Twinkies with helpful tips and techniques. However, before we begin, let’s discuss the equipment and ingredients you will need for this recipe.
What’s Covered in this Article
What Tools Do You Need to Prepare Hostess Twinkies?
- Oven – An oven is essential for baking Hostess Twinkies.
- Twinkie Pan – Did you know there is an official twinkie pan available for purchase? Yes, it’s true, and that’s what you need.
- Filling Injector or Piping Bag – Hostess Twinkies wouldn’t be complete without their delightful filling. Therefore, you’ll need a filling injector or a piping bag to inject the vanilla filling into this cake.
- Stand Mixer – A mixer is always necessary when baking. However, if you don’t have a stand mixer, you could also use a hand beater.
- Bowls – You’ll need bowls to prepare the cake batter and filling.
- Spatula – A spatula will be useful for mixing and handling the cake batter and filling.
- Cooling Rack – Once your Hostess Twinkies are out of the oven, you’ll need a rack to cool them before adding the filling.
How Long Will You Need to Prepare Hostess Twinkies?
| Preparation Time | Baking Time | Total Time |
|---|---|---|
| 25 Minutes | 15 Minutes | 45 Minutes |
What Ingredients Are Required To Make Hostess Twinkies?
For Vanilla Sponge:
- Eggs – Eggs aid in binding the ingredients and contribute flavor to the sponge. You’ll need two of them.
- Vanilla Extract – Vanilla Extract is a common ingredient in most baked goods, providing an incredible flavor.
- Granulated Sugar – Sweeten your Hostess Twinkies by adding some granulated sugar.
- Vegetable Oil – A touch of oil will help bring the batter together.
- All-Purpose Flour – Flour is the key ingredient in any cake, providing structure.
- Baking Powder – Baking powder will help your cake rise.
- Milk – Like oil, milk aids in the batter’s consistency and flavor.
- Salt – Salt enhances the flavors of other ingredients.
For Vanilla Filling:
- Hot Water – Two teaspoons of hot water
- Maize Flour – Maize flour will contribute to the uniformity of the filling.
- Vanilla Essence – Vanilla essence will impart the vanilla taste to the filling.
- Marshmallow Cream – Marshmallow cream serves as the foundation for the filling.
- Fat – Every food item requires some fat content to facilitate blending.
- Icing Sugar – Sugar will add sweetness to the filling.
- Seasoning – As mentioned earlier, seasoning will intensify the vanilla flavor.

Steps For Crafting Hostess Twinkies
1. Create The Batter
Heat up the oven to 325°F and align the rack. Take a stand mixer bowl or a large standard mixing bowl, beat together sugar, eggs, and vanilla until the mixture becomes foamy, approximately 3-4 minutes. Then, incorporate the oil, blend well, and add the dry components.
Mix the batter gently. Add the milk and blend until the batter is smooth with no lumps.
2. Baking Into Petite Twinkie Cakes
Grease the twinkie pan and pour batter into each cavity, filling it a bit over halfway. Gently tap the pan on the counter to eliminate any air bubbles from the batter. Subsequently, place the tray in the oven and bake for 10-15 minutes until the edges of each twinkie slightly brown.
Take out the tray from the oven, run a knife around each twinkie cake. Quickly invert the pan over a wire rack and carefully remove the pan from the Twinkies.
Tip: Removing the pan promptly post-baking will aid in flattening the base of the Twinkies as they cool.
2. Prepare The Filling
During the cooling of the Twinkies, blend the filling constituents in a medium-sized bowl. Stir until all components are evenly mixed. Once thoroughly blended, transfer the filling into a filling injector or a pastry bag outfitted with a round tip.
3. Integrate The Filling Into The Twinkies
Insert the pastry tip into the cake from the bottom to fill it with the filling. Begin injecting until the cake feels full. Withdraw the tip and repeat two more injections from the bottom and middle of the cake. On completion, three small holes filled with the filling will be present at the base of each twinkie.
Bravo! Your homemade Hostess twinkies are now ready to be enjoyed. These homemade Twinkies can maintain freshness for up to five days when stored in an airtight container at room temperature.
Nutritional Overview
Calories 437 kcal Carbs 55 g Proteins 3 g Lipids 24 g Saturated Fat 4 g Polyunsaturated Fat 7 g Monounsaturated Fat 12 g Trans Fat 2 g Cholesterol 42 mg Sodium 182 mg Potassium 46 mg Fiber 0.4 g Sugars 37 g Vitamin A 72 IU Calcium 48 mg Iron 1 mg Appearance and Taste of Hostess Twinkies
Homemade Hostess Twinkies not only entail a straightforward preparation process but also promise a delightful gastronomic experience. They exhibit an attractive appearance and prove to be a delectable dessert for any time of the day. While the vanilla filling imparts an exquisite taste, one can also experiment with various other filling flavors.
You can explore options such as chocolate, banana, or strawberry. So, gear up to engage in the art of baking and present some exceptional Twinkies to your dear ones.
Recipe Card
Hostess Twinkies Recipe
Hostess Twinkies are one dessert that captivates everyone’s taste buds. They provide an enticing flavor and are incredibly simple to create. To add excitement, you can experiment with various fillings.#wprm-recipe-user-rating-0 .wprm-rating-star.wprm-rating-star-full svg * { fill: #e51838; }#wprm-recipe-user-rating-0 .wprm-rating-star.wprm-rating-star-33 svg * { fill: url(#wprm-recipe-user-rating-0-33); }#wprm-recipe- user-rating-0 .wprm-rating-star.wprm-rating-star-50 svg * { fill: url(#wprm-recipe-user-rating-0-50); }#wprm-recipe-user-rating-0 .wprm-rating-star.wprm-rating-star-66 svg * { fill: url(#wprm-recipe-user-rating-0-66); }linearGradient#wprm-recipe-user-rating-0-33 stop { stop-color: #e51838; }linearGradient#wprm-recipe-user-rating-0-50 stop { stop-color: #e51838; }linearGradient#wprm-recipe-user-rating-0-66 stop { stop-color: #e51838; }
B07DR5QRY8&asins=B07DR5QRY8&linkId=8c381a6546995ac2cc605be908c112c1&show_border=true&link_opens_in_new_window=true”>OvenTwinkie PanFilling Injector or Piping BagB00005UP2P&asins=B00005UP2P&linkId=4ffc0b68a256815109ec904-bf0200de9&show_border=true&link_opens_in_new_window=true”>Stand MixerB01CEBRM1W&asins=B01CEBRM1W&linkId=a29db639a5af5110d738b5bd1f28c8e0&show_border=true&link_opens_in_new_window=true”>BowlsB00B0M5LQK&asins=B00B0M5LQK&linkId=a705116d4bfb3dc34bbe0a14c089c108&show_border=true&link_opens_in_new_window=true”>SpatuleGrille de refroidissementFor Snacks petits gA^teaux d’invitation:
- PrA(c)chauffer le four A 325AdegF avec la grille placA(c)e en position centrale.
- Dans un batteur ou un grand bol, battre ensemble les A�ufs, la vanille et le sucre jusqu’A ce que le mA(c)lange soit mousseux pendant environ 3-4 minutes.
- Ajouter de l’huile et mA(c)langer pour combiner les A�ufs, la vanille et le sucre. Ensuite, ajoutez les ingrA(c)dients secs.
- Ajouter le lait et remuer jusqu’A ce que la pAC/te soit lisse et sans grumeaux.
- Graisser votre moule A snacks petits gA^teaux d’invitation et remplir chaque dA(c)pA’t d’un peu plus de la moitiA(c) de pAC/te. Taper doucement sur le moule sur le comptoir quelques fois pour A(c)liminer les bulles d’air de la pAC/te A gAC/teaux.
- Cuire au four pendant 10-15 minutes jusqu’A ce que les bords de chaque snack petit gAC/teau d’invitation commencent A dorer lA(c)gA”rement.
- Retirer les snacks petits gA^teaux d’invitation du four et passer immA(c)diatement un couteau tout autour de chaque gAC/teau d’invitation. Ensuite, retourner le moule sur une grille de refroidissement en fil mAtallique.
- Retirer doucement le moule des snacks petits gAC/teaux d’invitation. Retirer le moule rapidement aidera la base des snacks petits gA^teaux d’invitation A s’aplatir lorsqu’ils refroidissent.
Pour Remplissage:
- PrA(c)parer le remplissage en combinant les ingrA(c)dients du remplissage dans un bol jusqu’A ce qu’ils soient bien mA(c)langA(c)s.
- TransfAC/rer dans une poche A douille avec un embout rond ou injecteur de cupcakes.
- InsAC/rer l’embout de pAC/trissage dans le gAC/teau d’invitation par le bas et commencer A injecter le remplissage jusqu’A ce que le gAC/teau commence A gonfler lA(c)gA”rement.
- Retirer l’embout et injecter le gAC/teau deux autres fois par l’extrA(c)mitA(c) opposA(c)e et le milieu.
- Une fois terminA(c), vous devriez avoir trois petits trous regorgeant de remplissage sous chaque snack petit gAC/teau d’invitation.
- Servir et apprA(c)cier!
Questions FrA(c)quemment PosA(c)es (FAQ)
Quelle A(c)tait la garniture originale des snacks petits gA^teaux d’invitation Hostess?
Lorsque le Twinkie a A(c)tA(c) inventA(c) pour la premiA”re fois, il A(c)tait rempli uniquement de crA”me banane.
Quelle saveur est la crA”me dans un snack petit gAC/teau d’invitation Hostess?
La crA”me vanille est la saveur dominante des Twinkies depuis l’arrA�t de la crA”me banane.
Les snacks petits gAC/teaux d’invitation sont-ils vegan?
Non, les snacks petits gAC/teaux d’invitation Hostess ne sont pas vegan. Ils contiennent du lait et des A�ufs.
Si vous aimez cette recette, laissez un commentaire dans les sections de commentaires pour me parler de tout cela. Dites-moi aussi si vous avez essayA(c) une autre garniture et comment elle s’est avA(c)rA(c)e. Pour plus de recettes d’Halloween de ce genre, rendez-vous sur notre site web pour en savoir plus.